7.3 Create and Manage Projects
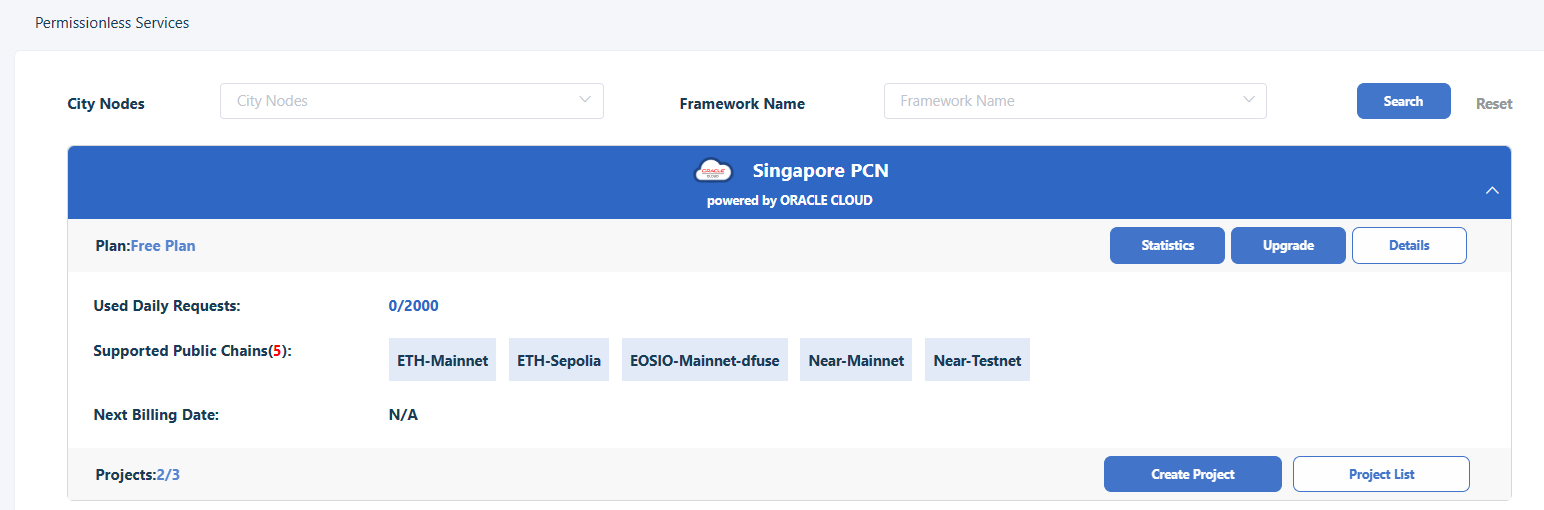
With the Permissionless service, projects can be created in a much simpler way when compared with Permissioned service as plans are embedded into the project, making it easier for participants to manage. To create and manage projects follow these steps:
1. In the Permissionless Service page, click Create Project in the development plan section.
2. In the Create a new project window, enter the Project Name, select the Public Chain to access from the dropdown list, input the Daily Requests number if needed. Then click Create Project. The Daily Requests number is optional, and it is used to control the TPD (transactions per day) for this project.
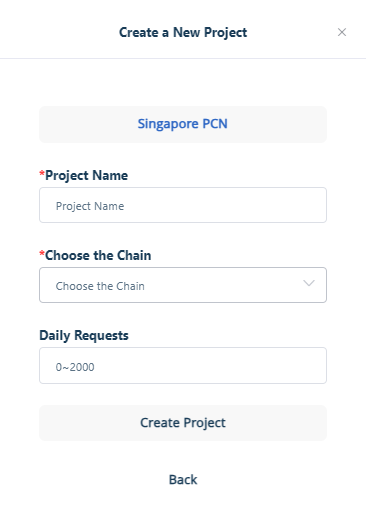
This will automatically create the project and list it in the Project Information tab.
After a project has been created it can be managed using available tools for the project. To manage a project, follow these steps:
1) Locate the project to be managed, click Upgrade to display the Plans page.
2) Select the appropriate plan to Upgrade to and click confirm to display the payment page.
3) To enable the project key, in the Permissionless Service page, click Project list to display the list of projects. In Action, click Enable Key to enable the project key. Then the information page on enabling the key will be displayed. Click Confirm.
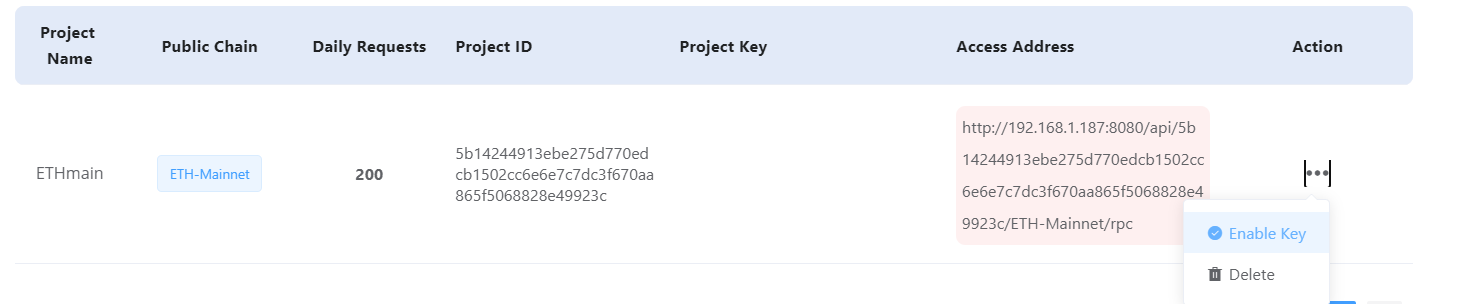
4. To update a project key, click Update Key. Then the information page on updating the key will be displayed. Click Confirm.
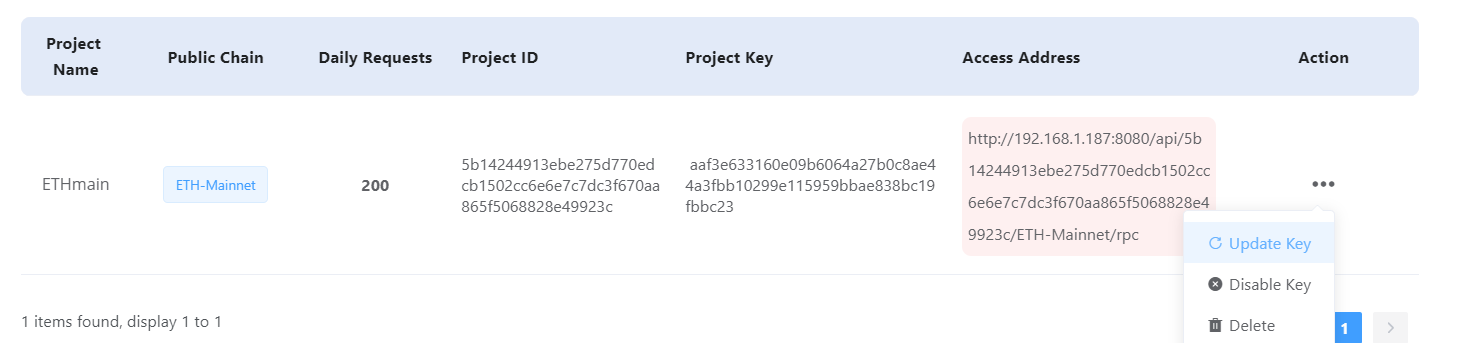
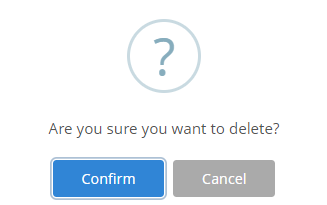
5. To delete a project, click Delete. A confirmation message will be displayed asking if you wanted to delete the project. Click Confirm to delete it.